Recently, I have been asked quite a bit about how I create my background for my polaroids on Instagram. Today, I thought this would be a great follow up to an older post of mine on scanning polaroids.

Materials needed:
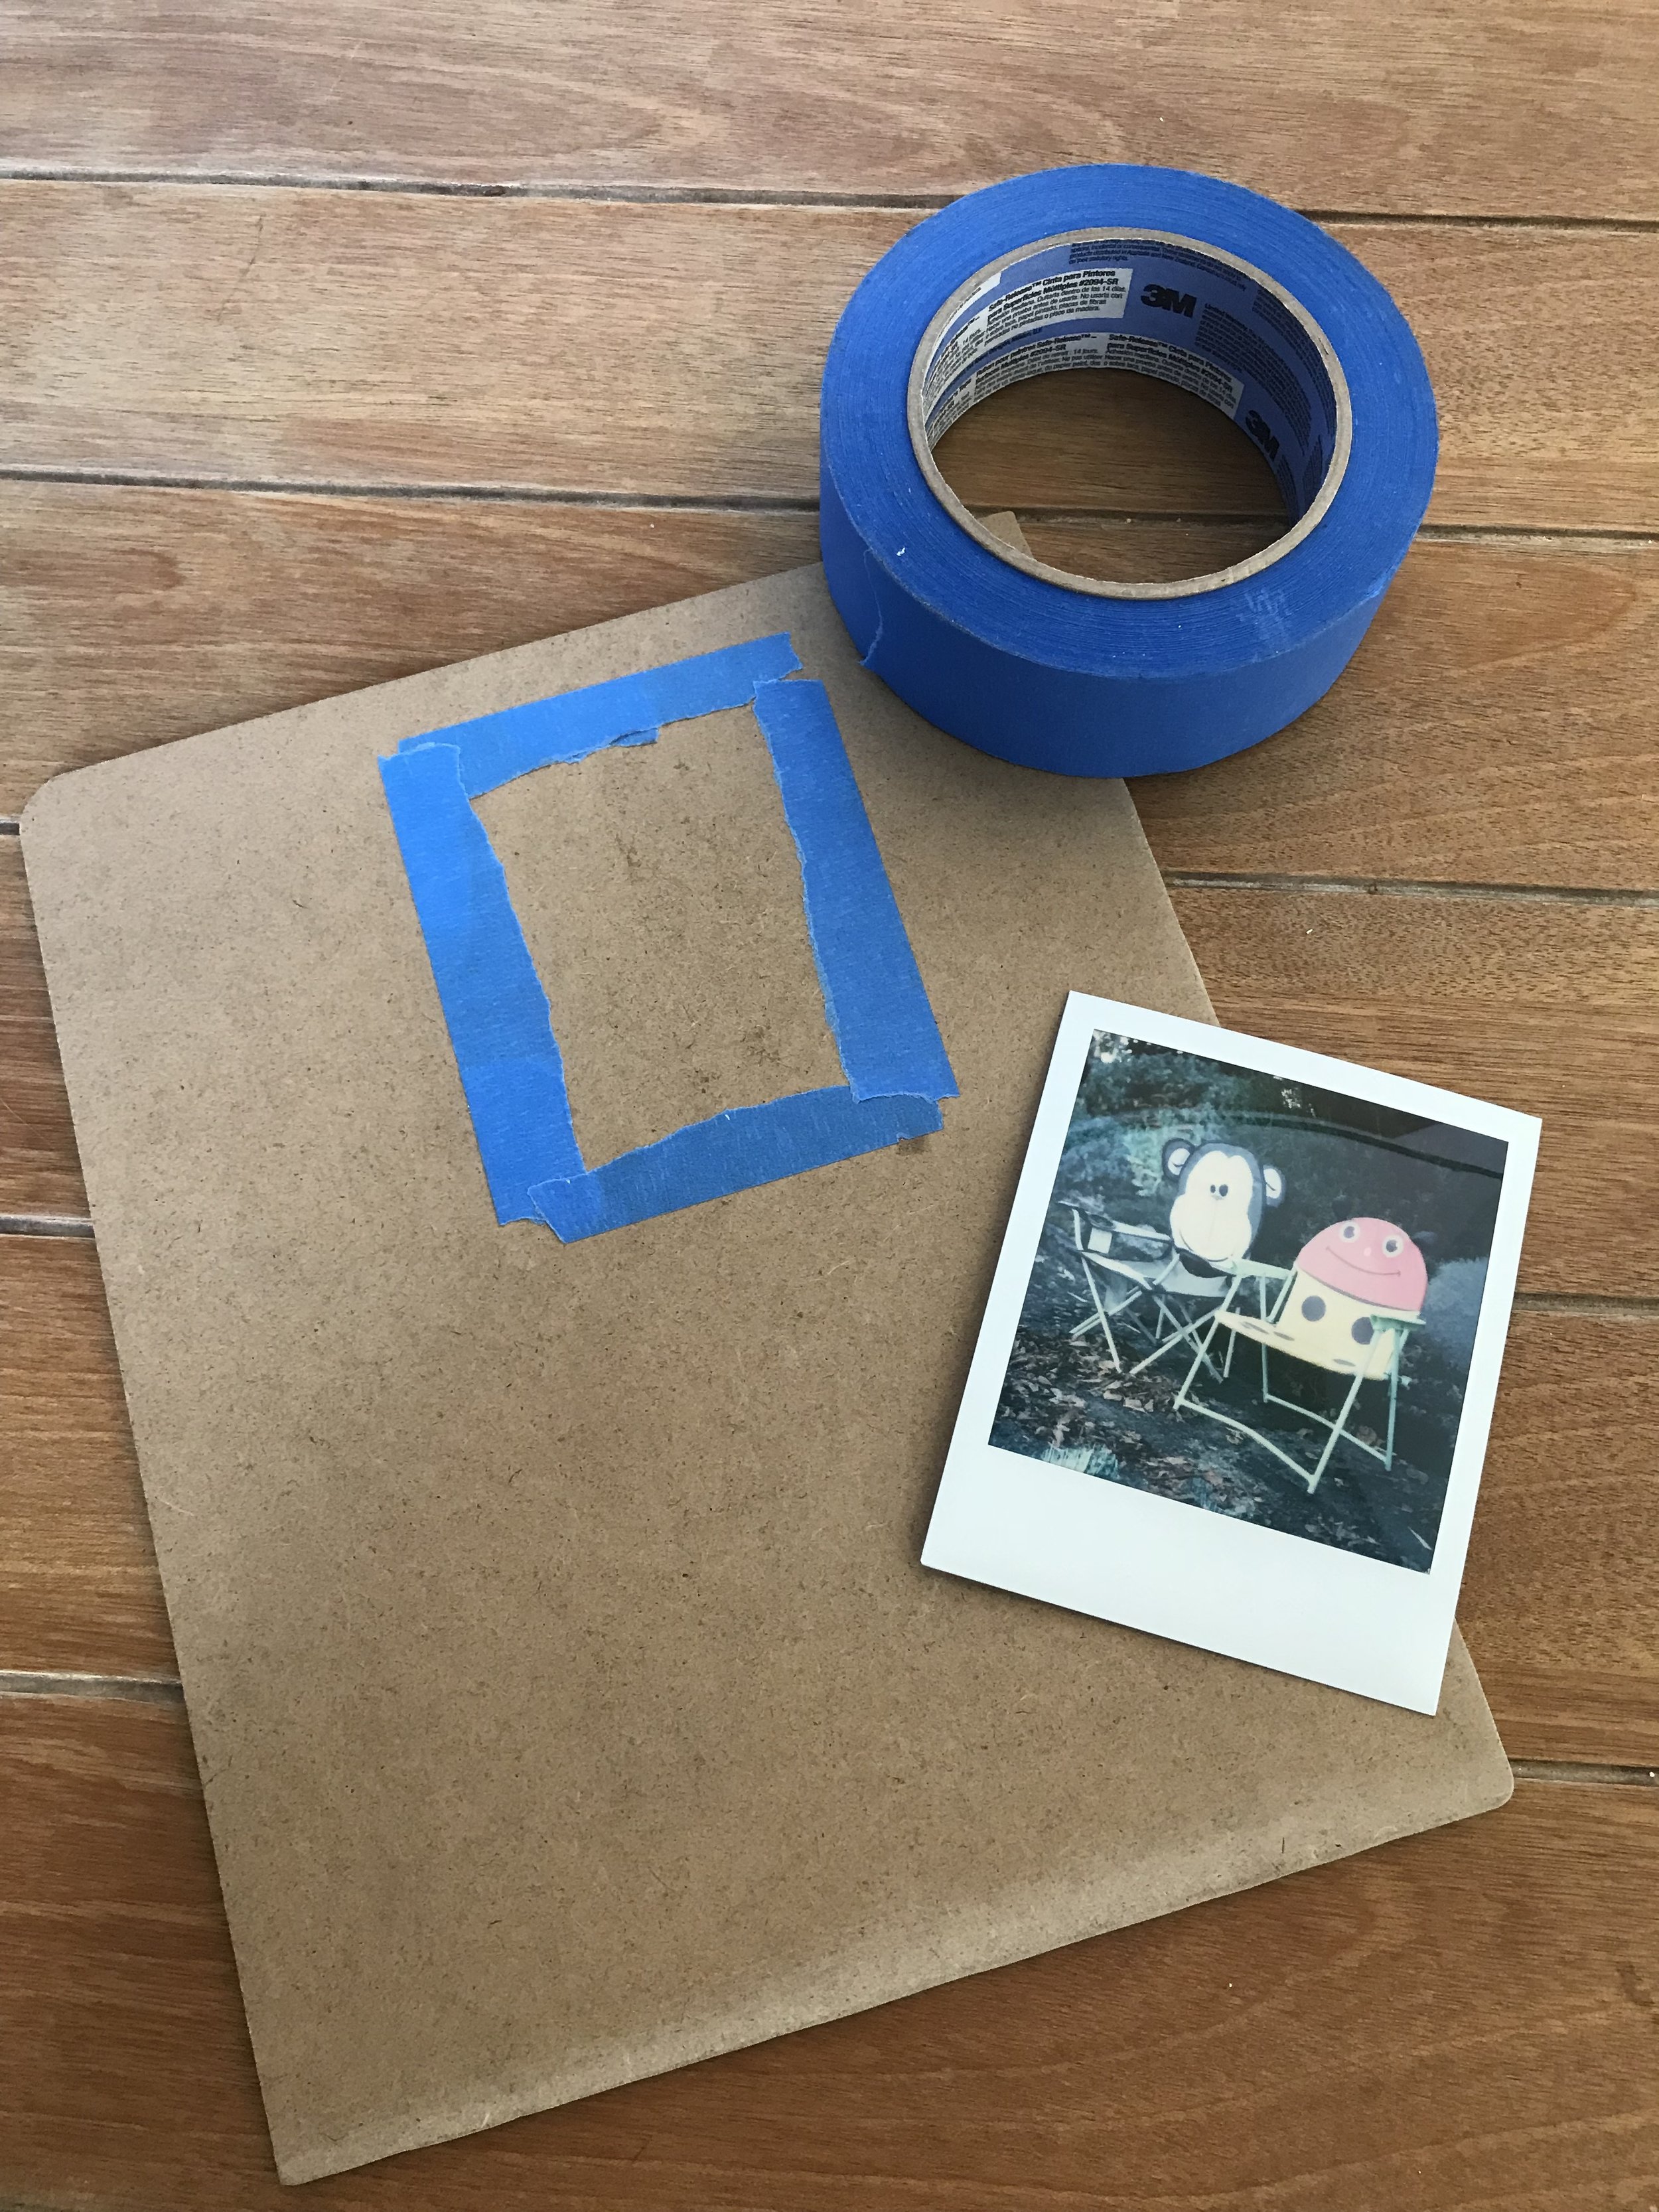
- Background material*
- Painter's/artist's tape
- Your polaroids
*Note: The background should be smaller than the scannable area of your flatbed scanner as this will help create the best results. Also, the background used should be a smooth matte finish as to not damage the glass of the scanner.
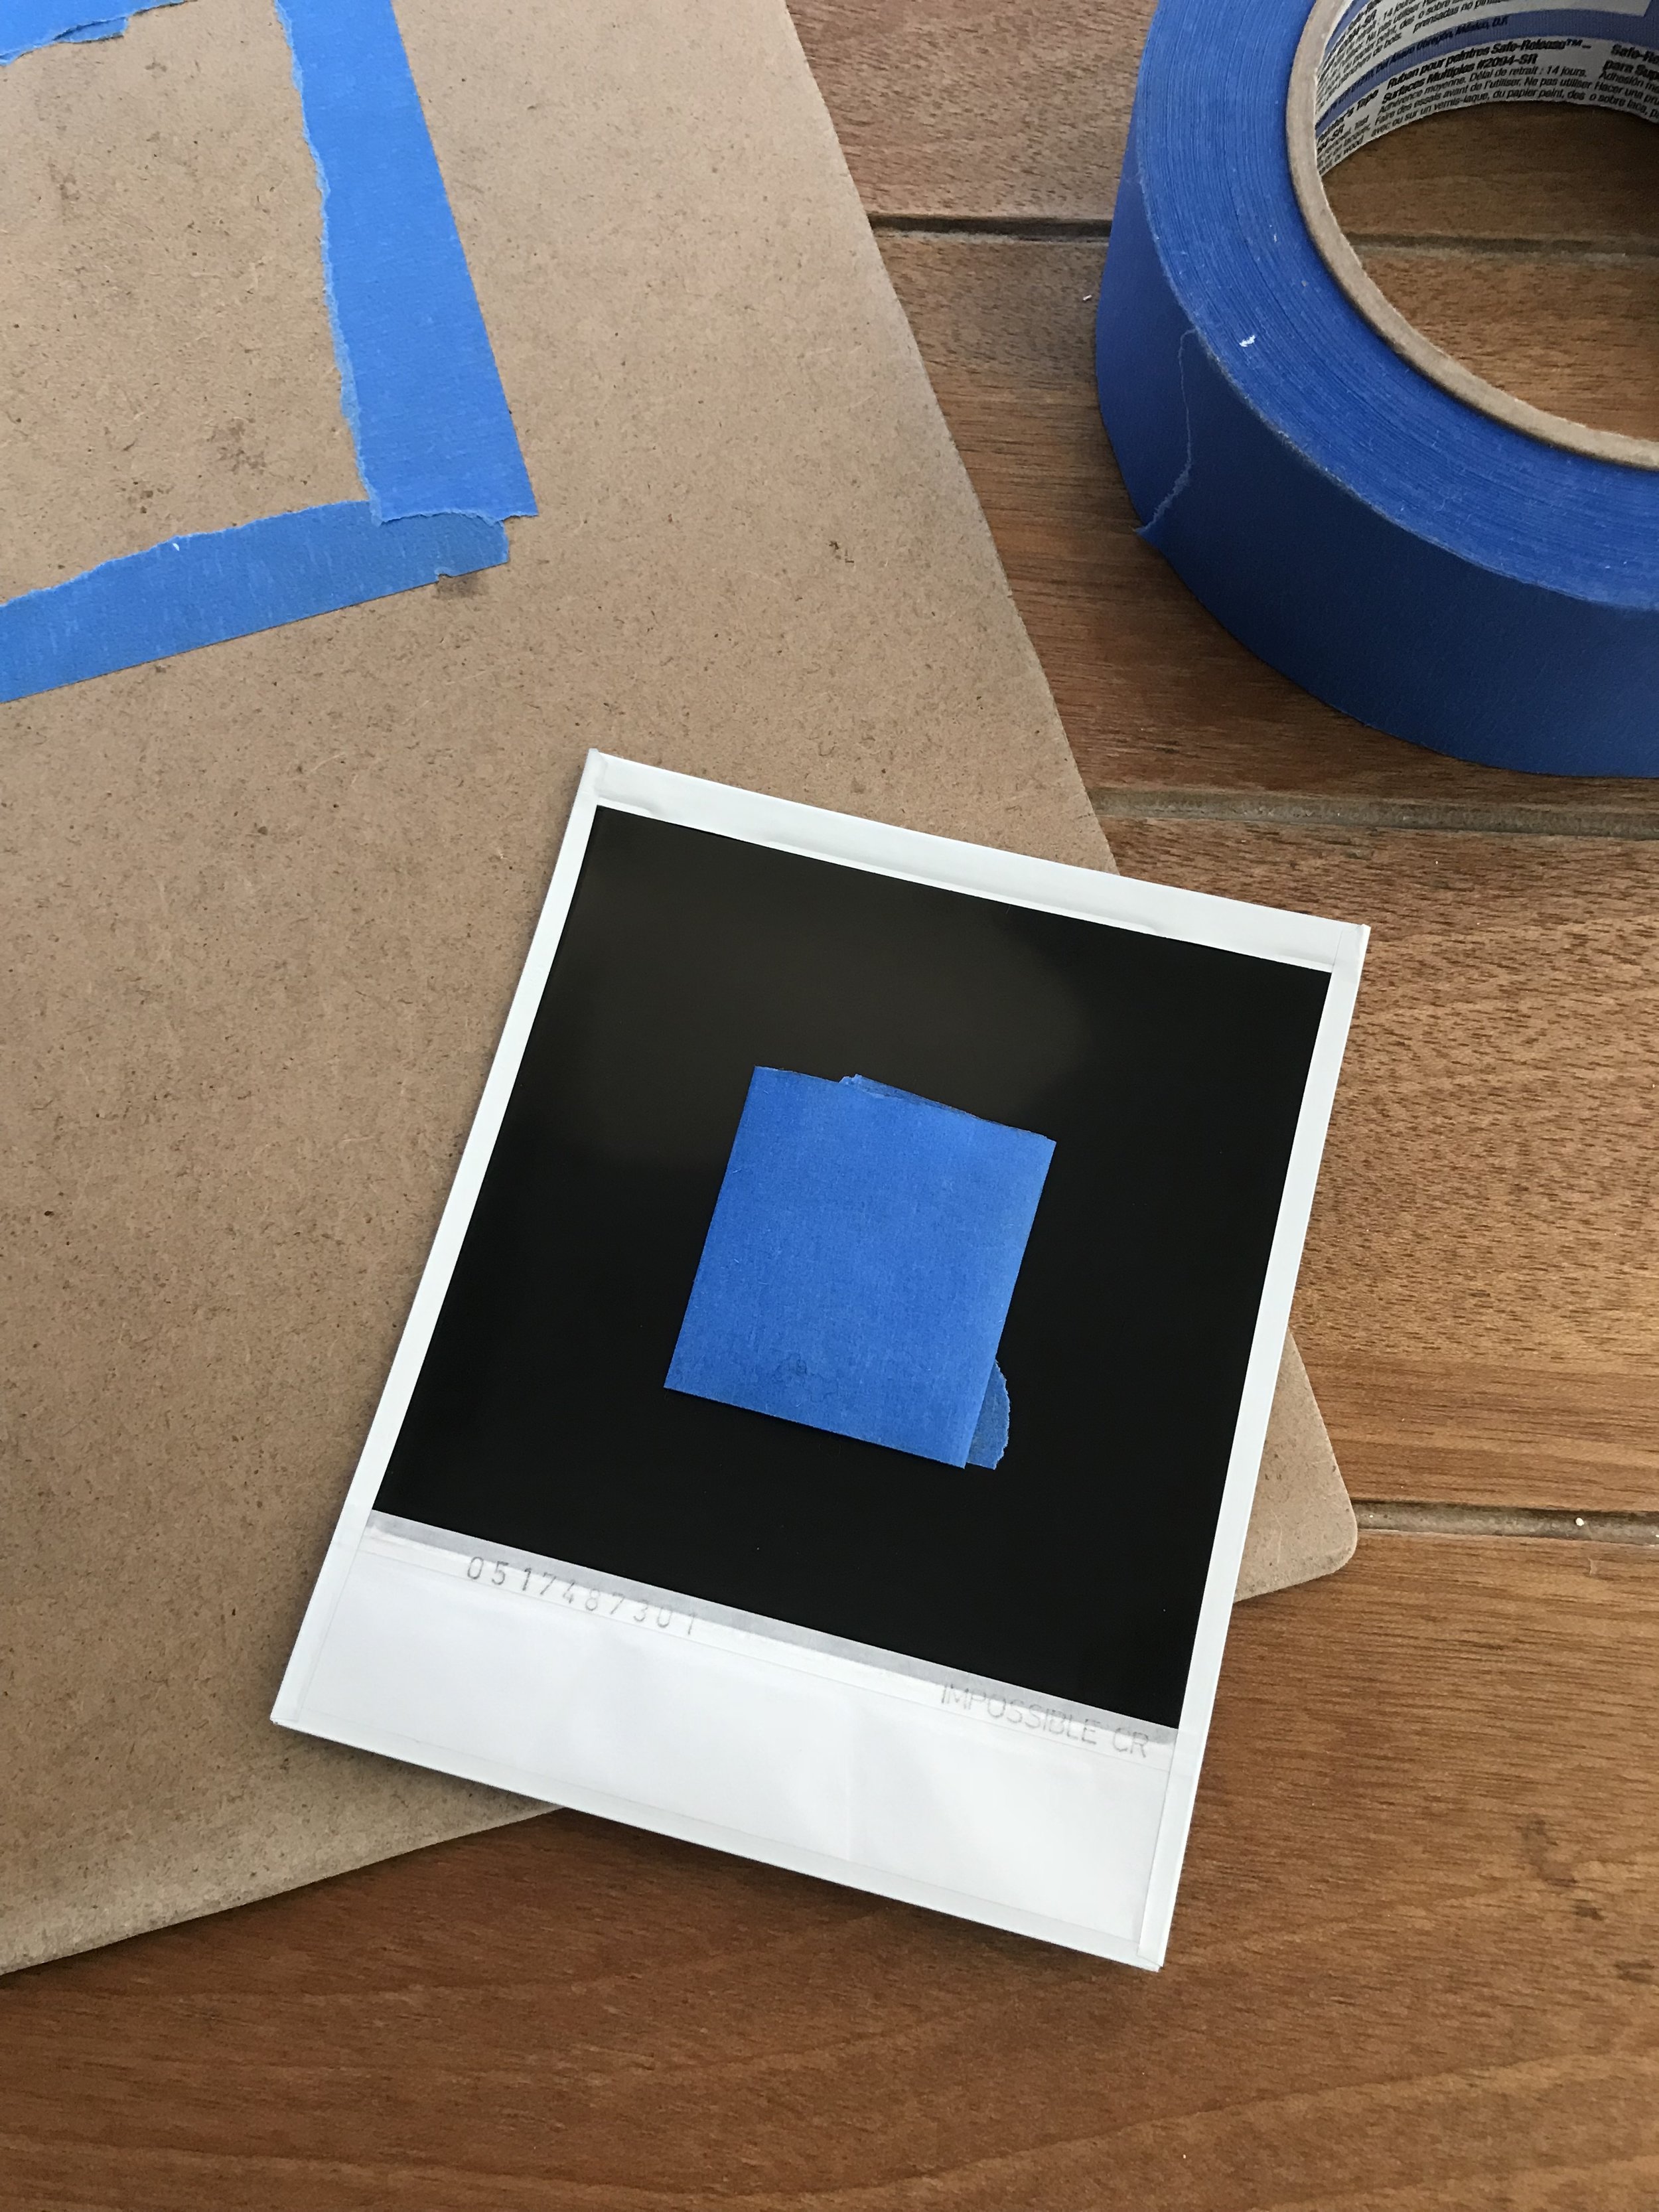
The blue frame that you see on my background (see photo) is my template frame to help align my polaroid correctly.
- Dry cloth or paper towel wipe off the background surface.
- Roll a piece of tape sticky side up (creating double sided tape).
- Apply the tape to the back of the polaroid.
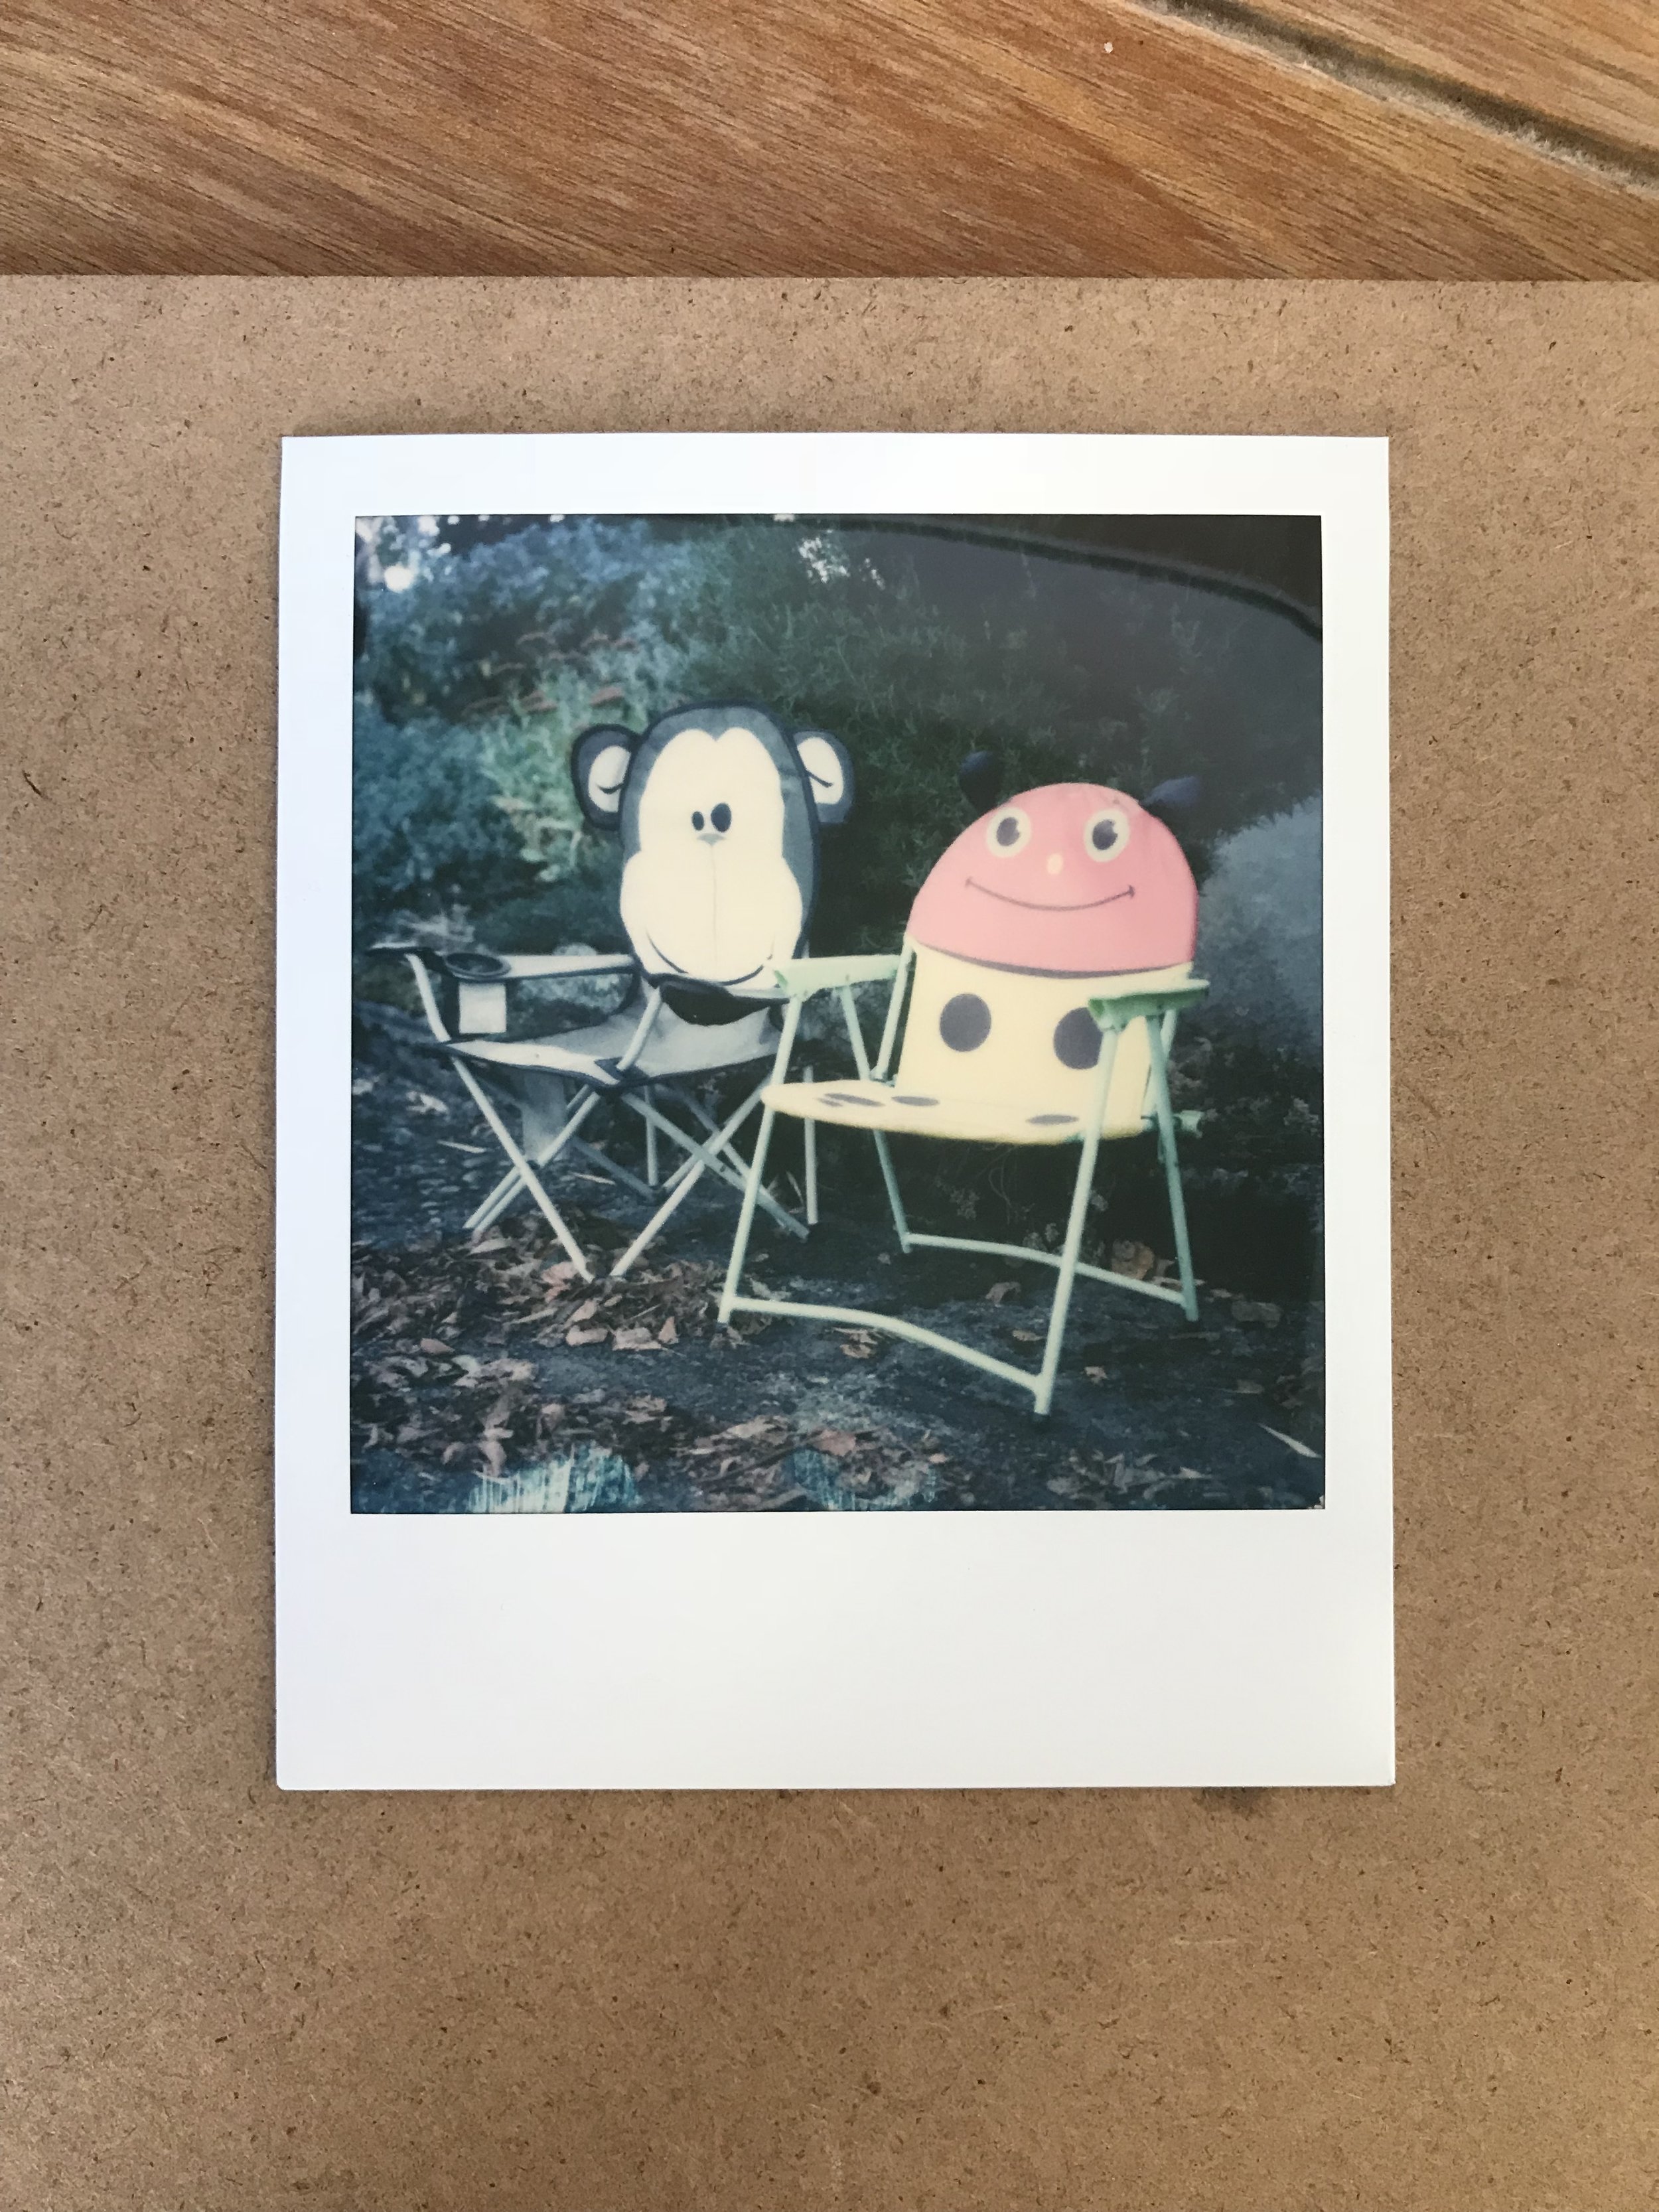
- Apply the polaroid face up onto the background.
- *If you also created a template align the polaroid the best you can.
- Done!
For how I scan them, please refer back to the link provided below:
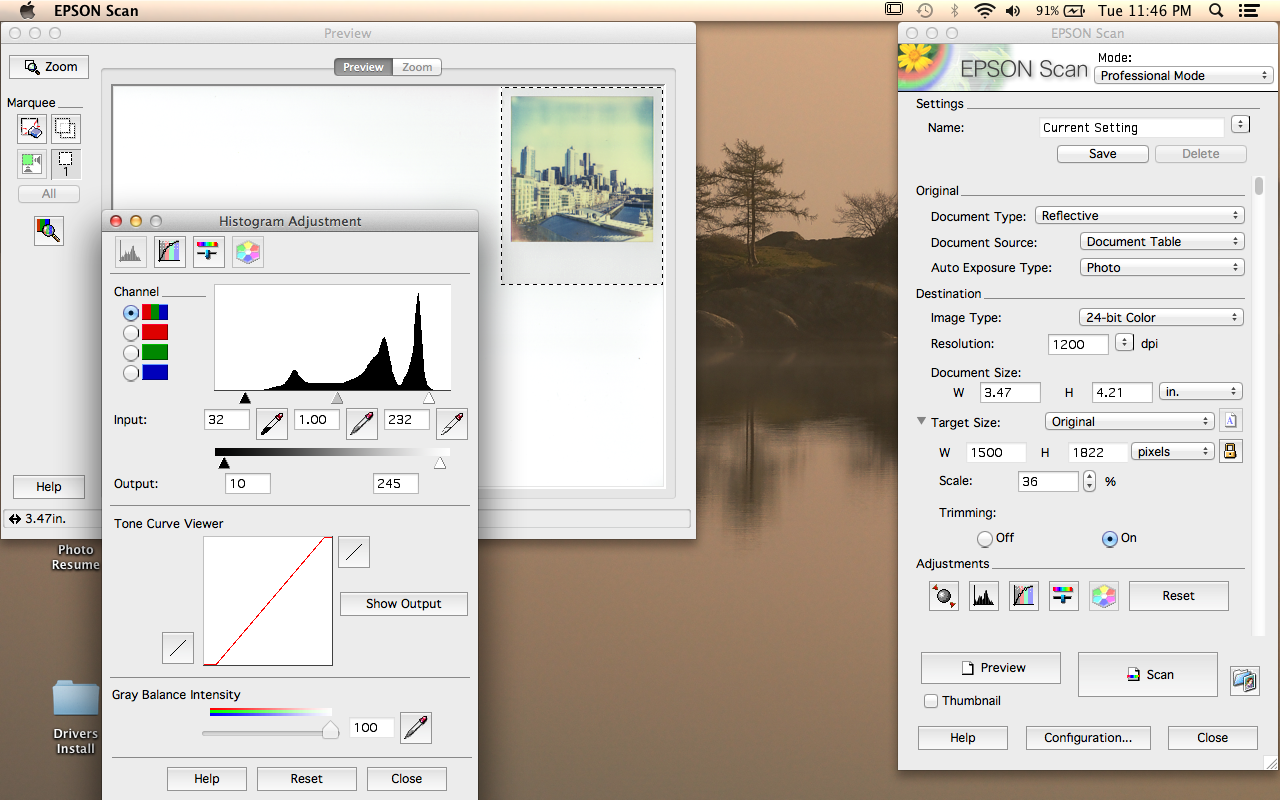
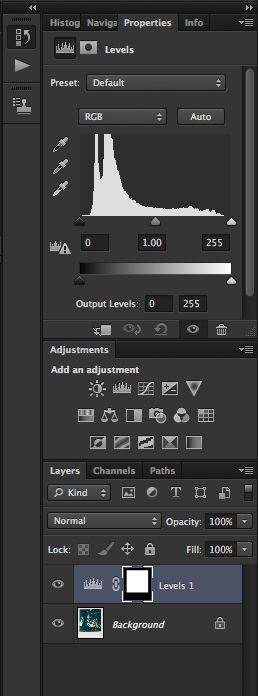
https://aperture7photo.com/life/polaroid-scanning-and-editing-process